

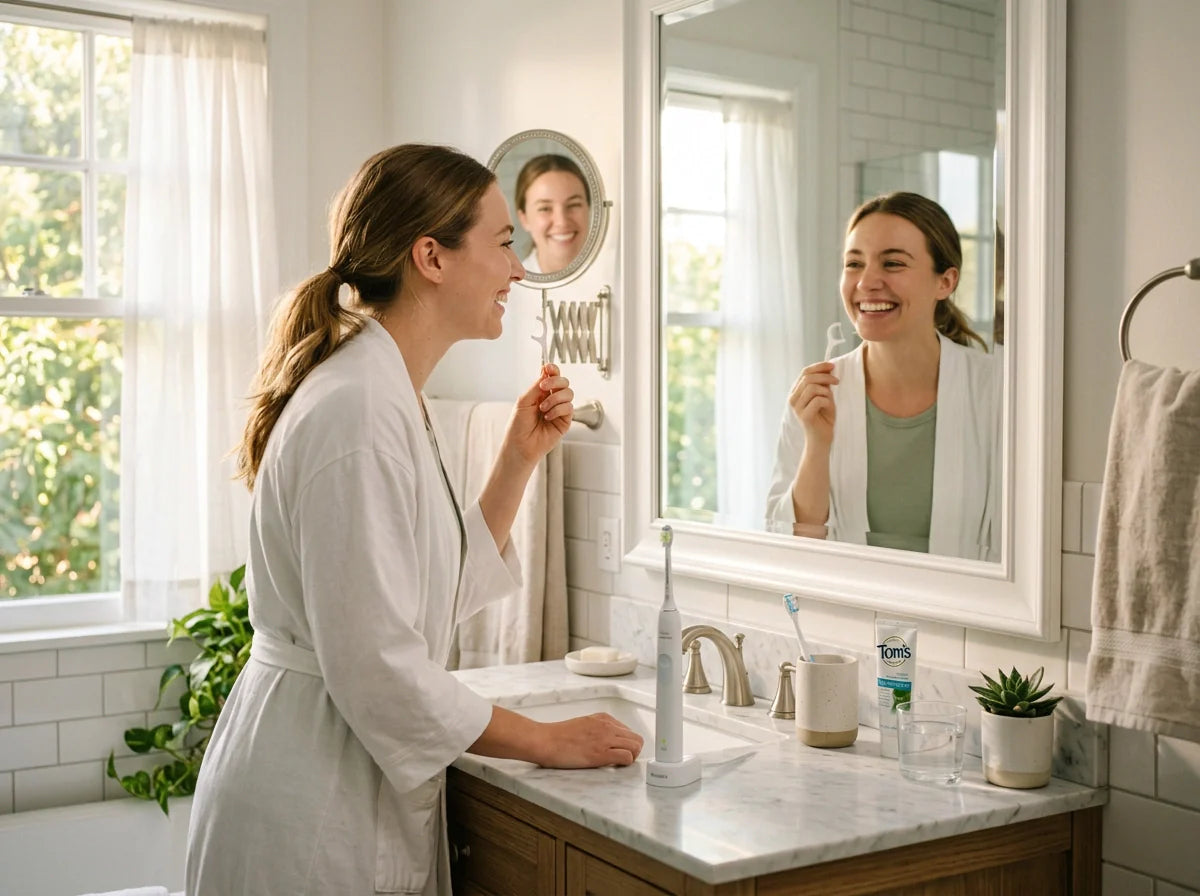
Sikat gigi adalah pahlawan super untuk permukaan gigi Anda, tetapi hampir 40% dari setiap gigi tetap tidak tersentuh — ruang sempit di antara gigi-gigi tersebut. Di sinilah benang gigi berperan. Jika dilakukan dengan benar, flossing mengganggu plak gigi yang lengket penyakit gusi, dan menyebabkan gigi berlubang. Tetapi kebanyakan dari kita tidak pernah mempelajari gerakan yang tepat — dan itu terlihat. Panduan ini menguraikan teknik, pilihan alat, dan kebiasaan harian sehingga Anda dapat menggunakan benang gigi dengan percaya diri dan benar-benar menikmati kebersihannya.
KESIMPULAN SINGKAT
- Penggunaan benang gigi menargetkan ruang interdental yang tidak dapat dijangkau sikat gigi.
- Pilih benang gigi yang terasa nyaman — berlapis lilin, pita, PTFE, atau tusuk gigi berbenang. Kenyamanan Anda berarti Anda akan melakukannya.
- Gunakan benang sepanjang 18 inci, lilitkan di sekitar jari tengah Anda, dan geser dengan gerakan menggergaji yang lembut.
- Lengkungkan benang menjadi bentuk C pada setiap gigi dan geser tepat di bawah garis gusi.
- Perdarahan pada awalnya menandakan peradangan yang akan hilang dengan flossing yang konsisten dan lembut.
- Kaitkan flossing dengan sesuatu yang sudah Anda lakukan setiap hari — menyikat gigi, menonton TV — dan simpan benang gigi di tempat yang terlihat.

Alat yang Tepat untuk Pekerjaan: Memilih Benang Gigi Anda
Benang gigi yang tersangkut, robek, atau terasa seperti gergaji adalah benang yang akan Anda tinggalkan. Variasi di rak bukanlah kebisingan pemasaran — itu ada untuk menyesuaikan dengan jarak gigi dan ketangkasan unik Anda. Bereksperimen dengan beberapa pilihan dapat mengubah pekerjaan rumah menjadi momen perawatan diri.
- Benang berlapis lilin — dilapisi dengan lapisan tipis lilin, ini meluncur lebih mulus di antara gigi yang memiliki kontak rapat. Bagus jika benang Anda cenderung tersangkut atau berjumbai.
- Pita gigi — lebih lebar dan rata daripada benang standar, ideal untuk celah yang lebih lebar atau jika Anda merasa benang tipis tidak nyaman. Banyak orang mengatakan pita terasa lebih lembut di gusi.
-
Benang PTFE (monofilamen) — tahan sobek dan sangat licin. Ini penyelamat untuk kontak yang sangat rapat dan tidak akan terurai. Carilah Segel Penerimaan ADA pada kemasannya — itu berarti produk telah lulus pengujian independen untuk keamanan dan kemanjuran sebagai pembersih interdental.
(Asosiasi Gigi Amerika memelihara daftar produk benang gigi yang mendapatkan Segel tersebut.) - Super floss — dirancang dengan ujung berulir yang kaku, bagian spons, dan benang gigi biasa. Dibuat untuk kawat gigi, jembatan gigi, dan celah yang lebar. Anda memasukkan benang di bawah perangkat, lalu gunakan bagian yang lembut untuk membersihkan area yang lebih luas.
-
Floss picks (pegangan) — gagang plastik kecil dengan benang yang sudah terpasang. Praktis dan lebih mudah digenggam bagi banyak orang, meskipun membatasi lengkungan bentuk C.
Sebuah studi klinis 2022 mengonfirmasi bahwa benang, tipe-C, dan tipe-Y floss picks semuanya menghilangkan plak secara efektif — jadi jika pegangan membuat Anda rajin flossing, itu pilihan yang baik.
Intinya: Benang gigi terbaik adalah yang akan Anda gunakan setiap hari. Jika satu jenis terasa kasar, gantilah. Saat benang meluncur tanpa tersangkut, Anda akan secara alami membangun kebiasaan.
Teknik Flossing Langkah demi Langkah
Teknik adalah segalanya. Flossing yang benar dilakukan dengan lambat, hati-hati, dan mencapai tepat di bawah garis gusi — persis di mana biofilm bakteri suka bersembunyi. Ikuti langkah-langkah ini sekali sehari, idealnya sebelum menyikat gigi, sehingga pasta gigi berfluoride dapat meresap ke email gigi Anda tanpa lapisan plak yang menghalangi.
- Potong sekitar 18 inci. Lilitkan sebagian besar di sekitar satu jari tengah dan ujung kecil di sekitar jari lainnya. Dengan cara ini Anda akan memiliki bagian bersih untuk setiap gigi.
- Jepit segmen satu inci di antara ibu jari dan jari telunjuk. Jaga tetap kencang. Genggaman Anda mengontrol gerakan, jadi hindari melilit terlalu kencang hingga memutus sirkulasi — cukup pas untuk mengarahkan.
- Meluncur — jangan disentak. Gerakkan benang di antara dua gigi dengan gerakan bolak-balik yang lembut seperti menggergaji. Jangan pernah memaksakan langsung ke bawah ke gusi; tujuannya adalah melewati titik kontak tanpa trauma.
- Peluk gigi dengan bentuk C. Setelah melewati kontak, lengkungkan benang menjadi C menempel pada satu gigi. Geser ke atas dan ke bawah, masuk 2–3 milimeter di bawah garis gusi. Kemudian ulangi pada permukaan gigi tetangga. Ini adalah detail paling penting secara klinis — kebanyakan orang melewatkan lengkungan dan melewatkan plak yang bersembunyi di sulkus.
- Gulirkan bagian yang baru dari satu jari tengah, lilitkan bagian yang sudah dipakai ke jari lainnya, dan lanjutkan ke sela gigi berikutnya. Jangkau setiap gigi, termasuk gigi geraham belakang.
The Cochrane Collaboration’s systematic review menemukan bahwa flossing plus menggosok gigi mengurangi gingivitis dibandingkan dengan hanya menyikat gigi. Meskipun efek pada tingkat plak bisa moderat, mengurangi peradangan yang menyebabkan gusi berdarah dan penyakit gusi itu berarti.
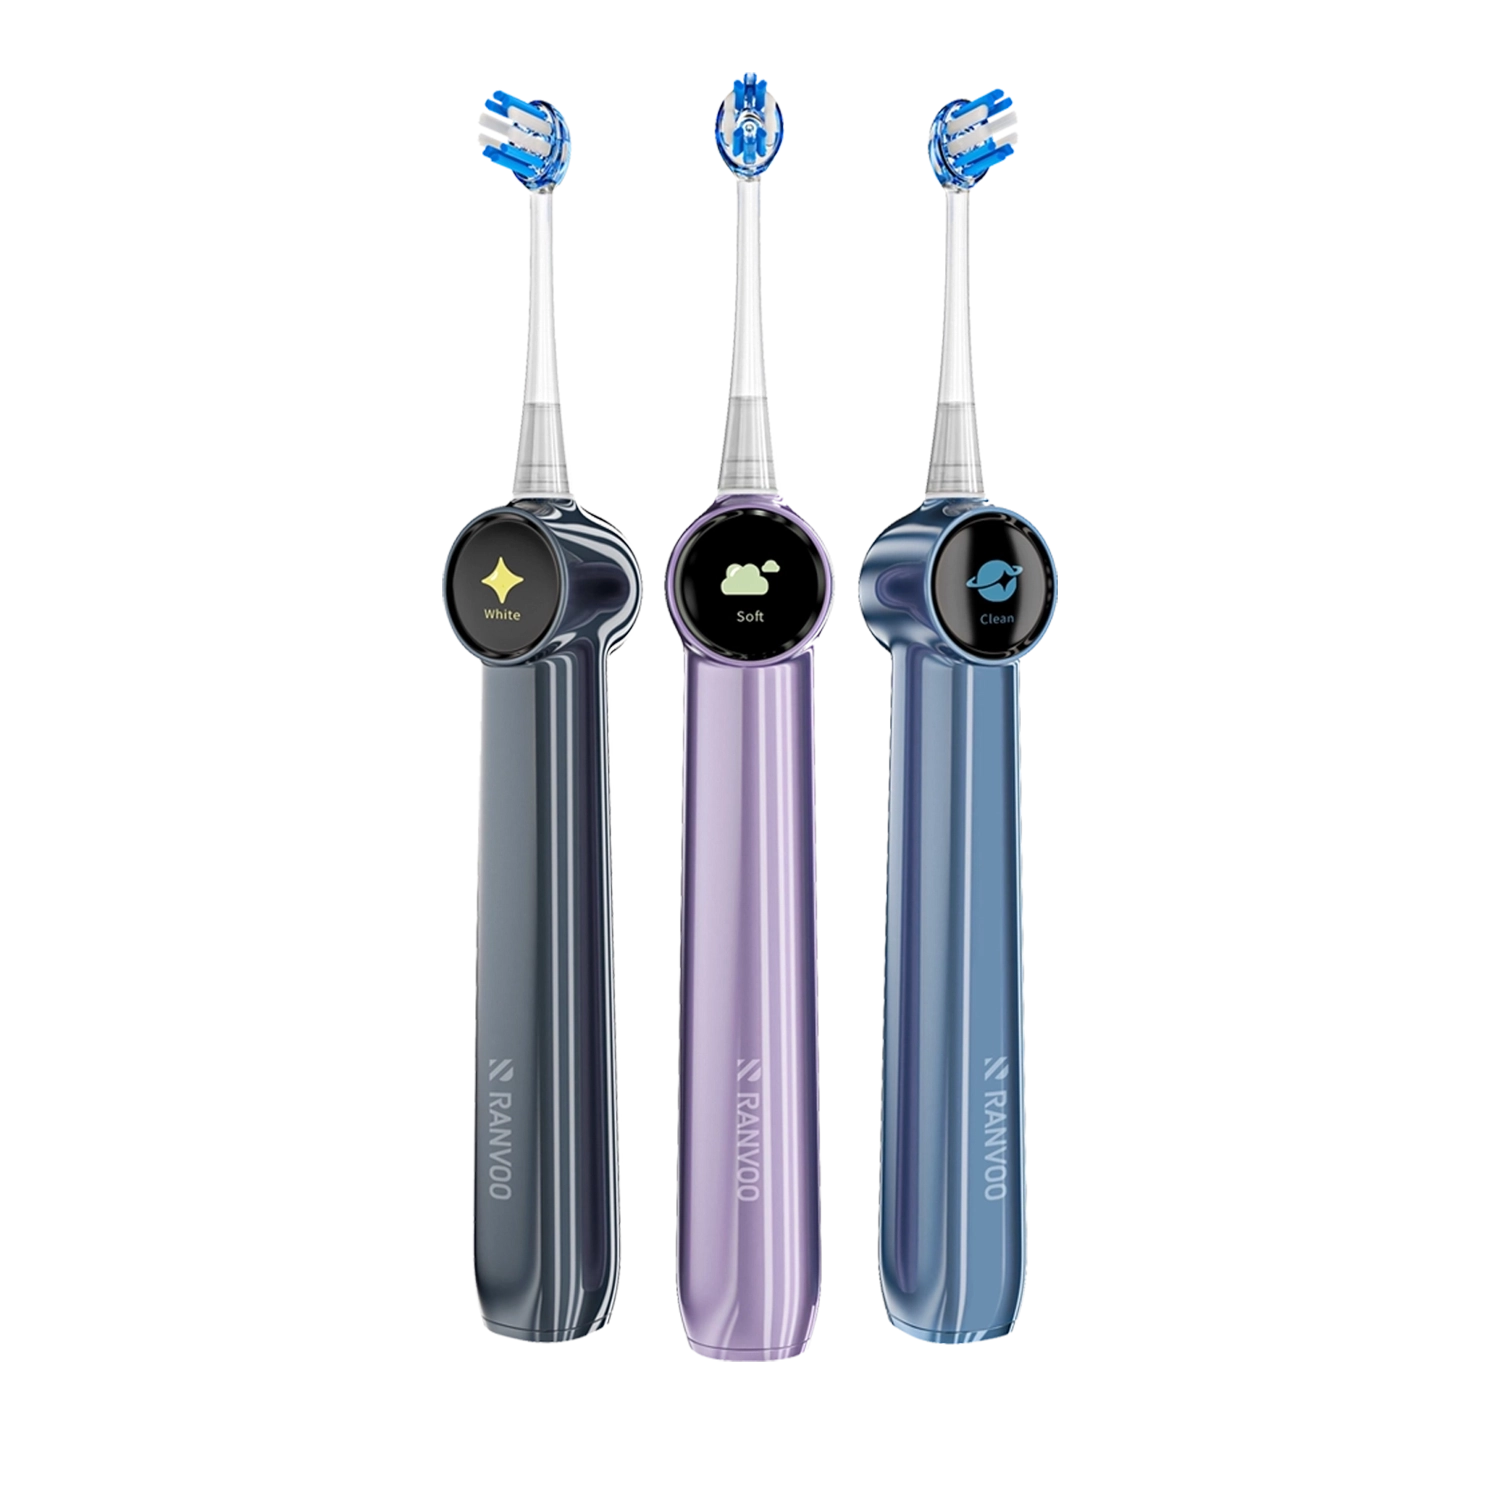
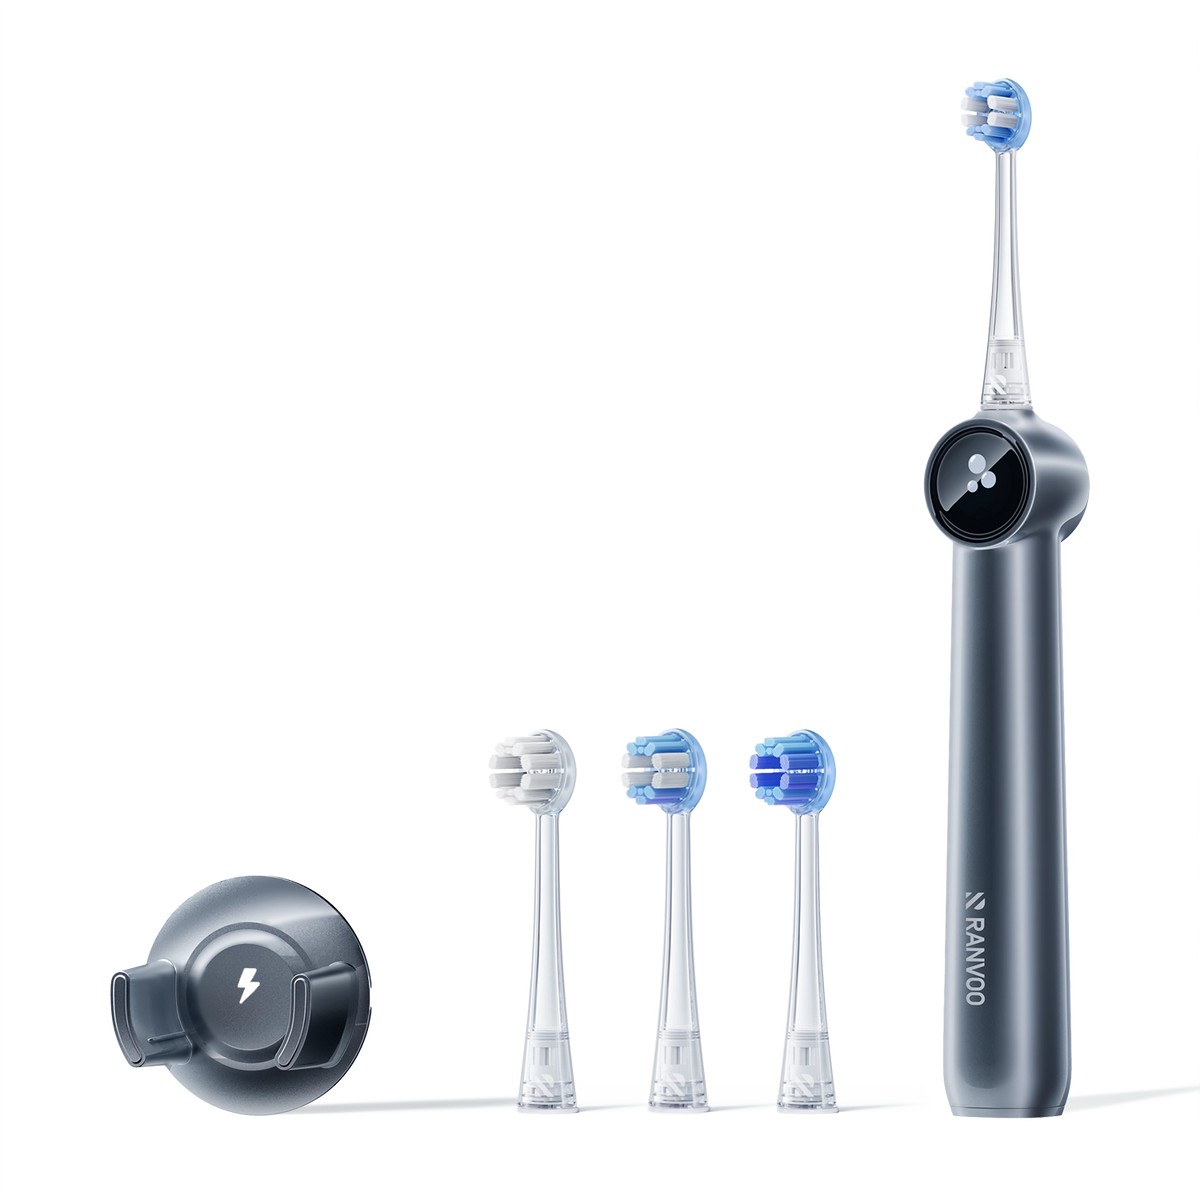
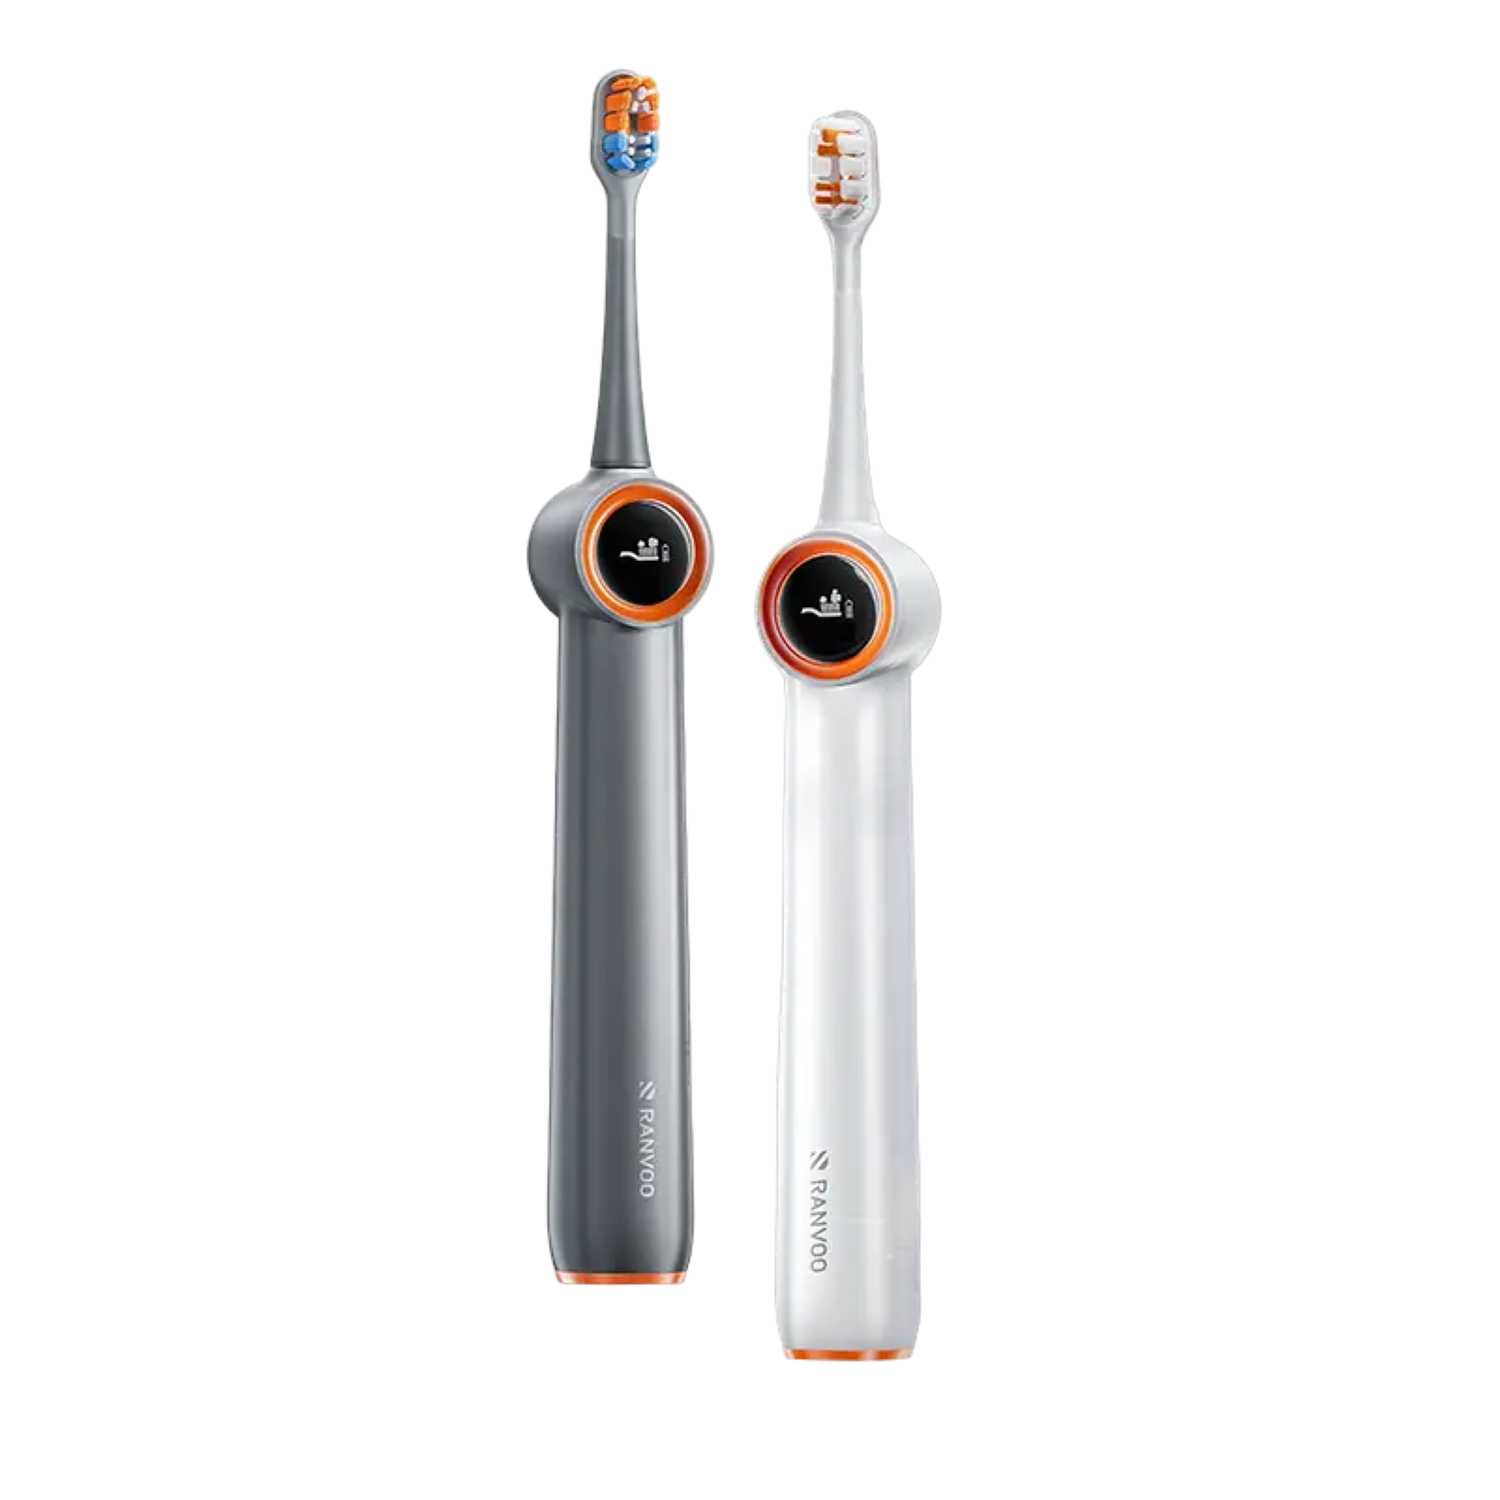
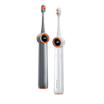
Setelah flossing, lanjutkan dengan sikat gigi elektrik dapat menyapu sisa-sisa yang longgar dan membantu pasta gigi berfluoride menembus sela-sela gigi di mana plak baru saja dipecah. Aksi mekanis ini bekerja dengan upaya flossing Anda untuk pembersihan yang benar-benar menyeluruh.

Kesalahan Umum Flossing (Dan Cara Memperbaikinya)
Bahkan setelah mempelajari dasar-dasarnya, beberapa kesalahan kecil dapat menghambat Anda. Perbaiki ini dan Anda akan segera mengurangi ketidaknyamanan dan meningkatkan kesehatan gusi Anda.
-
Membentakkan floss ke gusi.
Perbaikan: Gunakan gerakan menggergaji yang stabil dan bolak-balik untuk melewati titik kontak. Setelah melewatinya, perlambat dan dekap gigi — floss tidak boleh pernah membentak jaringan gusi. -
Menggunakan kembali bagian kotor yang sama.
Perbaikan: Setelah setiap sela gigi, maju ke segmen yang bersih. Menggunakan kembali menyebarkan bakteri dan mengurangi pengangkatan plak. Panjang 18 inci memungkinkan Anda menggunakan bagian baru untuk setiap celah. -
Mengabaikan gigi geraham belakang.
Perbaikan: Gigi-gigi ini adalah magnet karang gigi. Jangkau bagian belakang geraham terakhir dan bersihkan permukaan jauhnya — mudah untuk dilewati tetapi sangat penting untuk mencegah kerusakan gigi. -
Berhenti karena gusi berdarah.
Perbaikan: Gusi berdarah sering kali merupakan tanda peradangan yang ada, bukan cedera akibat flossing. Dengan teknik yang konsisten dan lembut, pendarahan biasanya mereda dalam seminggu. Jika tidak, temui ahli kebersihan gigi — Anda mungkin perlu evaluasi lebih lanjut. -
Menggergaji dengan agresif atau menggunakan gerakan panjang dan cepat.
Perbaikan: Goresan pendek dan terkontrol (satu atau dua milimeter per kali) lebih efektif dan aman. Anggap saja seperti menyeka permukaan gigi, bukan memolesnya.
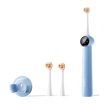
Jika gusi Anda terasa nyeri saat mulai flossing, a sikat gigi elektrik sonic dapat membantu. Pulsasi cepat dan lembutnya memijat garis gusi dan merangsang aliran darah, mengurangi peradangan seiring waktu — membuat seluruh mulut Anda terasa kurang reaktif terhadap flossing harian.
Flossing dengan Behel, Jembatan Gigi, atau Gusi Sensitif
Perawatan ortodontik, implan, dan jembatan gigi menciptakan tempat persembunyian ekstra untuk plak. Flossing di sekitarnya membutuhkan usaha ekstra, tetapi ini bukan pilihan untuk menghindari lesi bintik putih, kerusakan gigi, dan peri-implantitis.
- Untuk behel: Sebuah benang floss berujung jarum adalah jarum plastik fleksibel yang memandu benang di bawah kawat lengkung. Masukkan benang berujung jarum di bawah kawat, tarik benang melewatinya, lalu flossing di antara dua gigi seperti biasa — memeluk masing-masing gigi dan masuk ke bawah garis gusi. Super floss menggabungkan benang berujung jarum dan benang floss dalam satu bagian.
- Untuk jembatan gigi: Gunakan benang floss berujung jarum atau benang floss khusus jembatan dengan ujung kaku untuk memasukkan benang di bawah pontik (gigi palsu). Kemudian lingkarkan benang di sekitar gigi penyangga dan bersihkan secara menyeluruh di bawahnya.
- Untuk gusi sensitif atau tantangan ketangkasan: Sebuah water flosser (irigator oral) dapat menjadi tambahan yang lembut dan efektif. Penelitian dengan pasien ortodontik menunjukkan bahwa flossing dengan semprotan air sebanding dengan floss tradisional dalam mengurangi plak dan pendarahan — dan banyak yang merasa lebih mudah untuk menggunakannya secara konsisten.
- Sikat interdental adalah pilihan lain, terutama untuk celah yang lebih besar atau area dengan resesi gusi. Sebuah tinjauan sistematis mencatat bahwa sikat interdental secara konsisten mengungguli benang floss dalam mengurangi plak dan peradangan gingiva ketika ruang memungkinkan, meskipun benang floss tetap penting untuk kontak yang rapat.
Bicaralah dengan dokter gigi atau ahli kebersihan gigi Anda tentang kombinasi terbaik untuk mulut Anda. Beberapa menit ekstra adalah investasi untuk menjaga hasil perawatan ortodontik Anda — atau jembatan gigi Anda — tetap sehat selama bertahun-tahun.
Jadikan Kebiasaan Harian
Flossing bekerja paling baik ketika dilakukan secara otomatis. Perubahan kecil di lingkungan Anda dapat meningkatkan peluang keberhasilan.
- Kaitkan dengan kebiasaan lain. Flossing segera setelah menyikat gigi, atau tepat sebelumnya — urutannya kurang penting daripada konsistensi. Beberapa orang flossing sambil menonton acara atau mendengarkan podcast.
- Jaga agar tetap terlihat. Simpan benang floss di sebelah sikat gigi Anda, jangan dikubur di laci. Jika Anda menggunakan floss picks, simpan beberapa di tas atau mobil Anda untuk membersihkan dengan cepat setelah makan.
- Anggap sebagai kemenangan cepat. Kesegaran dan kehalusan di antara gigi Anda menjadi sebuah hadiah. Mengetahui bahwa Anda telah mengganggu biofilm bakteri yang menyebabkan bau mulut dan radang gusi bisa sangat memotivasi.
- Lacak rutinitas Anda. Tanda centang sederhana di kalender dapat memperkuat kebiasaan tersebut hingga menjadi kebiasaan alami.
American Dental Association merekomendasikan membersihkan sela-sela gigi sekali sehari, menggunakan alat apa pun yang sesuai dengan anatomi dan keterampilan motorik Anda. Meskipun Anda tidak melihat perubahan dramatis pada lapisan plak, penelitian secara konsisten menunjukkan berkurangnya pendarahan gusi — tanda bahwa gusi Anda lebih sehat dan lebih tangguh.

Konsistensi lebih penting daripada kesempurnaan. Setiap hari Anda flossing, Anda menghilangkan bahan bakar yang menyebabkan penyakit gusi dan melindungi tepi senyum Anda yang tidak dapat dijangkau oleh hal lain. Pilih benang gigi yang terasa nyaman, kuasai bentuk C, dan biarkan pengulangan yang lembut mengubah rekomendasi dokter gigi menjadi kebiasaan yang tidak bisa ditawar.
 Best Overall
 Best Value
 Best for Sensitive Teeth
Artikel ini telah ditinjau oleh tenaga profesional kesehatan mulut untuk memastikan keakuratannya. Artikel ini bertujuan memberikan informasi edukatif secara umum dan tidak dimaksudkan sebagai pengganti saran medis, diagnosis, atau pengobatan yang bersifat personal. Jika Anda memiliki pertanyaan atau kekhawatiran mengenai kesehatan mulut Anda, silakan berkonsultasi dengan dokter gigi, dokter, atau tenaga kesehatan profesional lainnya yang kompeten.