TL;DR — At-home clear aligners can effectively straighten mild-to-moderate crowding and spacing for disciplined, cavity-free adults. Success hinges on a professional pre-check, meticulous wear, and understanding that these kits treat cosmetic alignment, not complex bite problems. Remote oversight is convenient, but skipping in-person exams and X-rays can lead to bite issues, gum damage, or wasted money. This guide walks you through how they work, who they are for, the real costs, the risks, and what the process actually feels like — so you can decide with confidence.
The promise is tempting: a straighter smile without metal braces, endless office visits, or a sky-high price tag. At-home teeth straightening has surged in popularity for exactly those reasons. But behind the polished Instagram ads, there’s a more detailed story — one that involves real orthodontic biomechanics, regulatory gaps, and a few cautionary tales that every potential user should hear. Let’s break it all down piece by piece, so you’ll know what you’re signing up for.

How At-Home Straightening Actually Works
The process is built around a series of custom-made clear aligners — thin, transparent trays that fit over your teeth and apply gentle, constant pressure to shift them into a new position. Unlike traditional braces that use brackets and wires, aligners are removable and nearly invisible.
Here’s the typical journey:
- Impression or scan: You either receive a mail-order dental impressions kit (a tray filled with putty that captures the shape of your teeth) or visit a local scanning center for a digital 3D image. Some companies even use smartphone apps to guide you through a scan.
- Treatment planning: A licensed dentist or orthodontist reviews your case remotely. Using specialized software, they design a sequence of movements — this is where teledentistry and remote monitoring come together. You’ll often approve a digital preview of your projected smile before production begins.
- Aligner fabrication: The aligners are 3D-printed and shipped to you in sets. You wear each set for one to two weeks, moving to the next stage as your teeth gradually realign.
- Check-ins: Using an app, you periodically upload photos of your teeth. A remote dental team tracks your progress and flags any concerns.
A 2024 systematic review of clear aligner therapy confirmed that, for non-extraction cases with mild-to-moderate malocclusion, this approach can be a viable alternative to fixed braces. The technology has improved markedly — modern materials and force-optimization software make tooth movement more predictable than early generations of aligners. But the review also emphasized that high-quality evidence is still catching up, and not all movements are equally predictable.
Top Providers Head-to-Head
While the market has shifted (SmileDirectClub ceased operations in late 2023), several major players remain. Here’s how they compare at a glance:
| Provider | Treatment Speed (approx.) | Cost Range (USD) | Standout Feature |
|---|---|---|---|
| Byte | 3–4 months | $2,099–$2,599 | HyperByte vibration device claims to speed up movement |
| Candid | 6–11 months | $2,400–$3,500 | Remote monitoring by an orthodontist; CandidMonitoring system |
| AlignerCo | 6–11 months | $1,145–$1,495 | Most budget-friendly; NightOnly option for limited correction |
Each brand targets a slightly different user: - Byte suits those who want rapid results and are comfortable with minimal direct interaction. - Candid is closer to a hybrid model — you get ongoing orthodontist oversight, though still no in-person visits. - AlignerCo appeals to the cost-conscious, but its lower price may mean fewer refinements and less hands-on monitoring.
All of these are direct-to-consumer services. None replace a full clinical exam, X-rays, or in-person diagnosis. That distinction is where the safety conversation begins.
Is It Safe? The Unfiltered Truth
Safety depends enormously on the condition of your mouth before you start and the complexity of the misalignment you’re treating. The appealing convenience of a mail-order kit can mask serious risks you’d never detect on your own.
An analysis of FDA adverse event reports for direct-to-consumer aligners found 104 reported injuries between 2018 and 2020, with bite problems (41.3%), orofacial pain (29.8%), and periodontal damage (26.6%) as the most common outcomes. Over two-thirds of those patients ended up seeing a dentist not associated with the aligner company to address the damage.
Consider these red flags: - No panoramic X-rays — without imaging, undiagnosed bone loss, impacted teeth, or root shortening can go unnoticed. Aligners can then accelerate tooth loss or recede gums. - Active gum disease or decay — moving teeth when bacteria are thriving can lead to abscesses, irreversible bone damage, or tooth loss. A pre-treatment dental check is non-negotiable, even if the brand doesn’t require one. - Complex bite issues — at-home aligners are designed for cosmetic straightening (front teeth appearance), not bite correction. A patient with a deep overbite or posterior open bite who tries an unspecialist aligner plan might end up with a worsened functional bite, jaw pain, or TMJ issues. - Poor impression technique — in one documented emergency, an at-home impression tray became lodged on a patient’s teeth for hours, requiring hospital removal and causing significant gingival trauma.

The bottom line: Safety is possible, but only when you’ve been cleared by a dentist (ideally an orthodontist) who has reviewed X-rays and confirmed your teeth, gums, and bone are healthy, and that your malocclusion falls within the mild-to-moderate cosmetic range these systems are built for.
Am I a Candidate? A Quick Self-Check
Not all smiles are created equal in the eyes of at-home aligner software. Use this checklist to gauge where you likely stand.
You’re probably a good candidate if: - You have mild crowding or spacing (2–6 mm) - Your back teeth fit together comfortably (no bite imbalance) - Your gums are pink, don’t bleed, and show no recession - You’ve had a recent dental checkup and X-rays with no issues - You are prepared to wear aligners 20–22 hours a day
Think twice and consult an orthodontist in person if you have: - Severe crowding, large gaps, or rotated canines/premolars - An overbite, underbite, crossbite, or open bite that affects chewing or speech - Missing teeth, dental implants, bridges, or active periodontal disease - Any clicking, locking, or pain in the jaw joint (TMJ) - Root resorption or short roots visible on X-rays
If you check any box in that second list, at-home straightening could do more harm than good. Even “minor” crowding can hide an underlying skeletal issue that only an in-person exam with records can reveal.
The Real Cost Breakdown (No Surprises)
The sticker price you see online is rarely the final number. Here’s what to budget for:
- Base treatment fee: $1,200–$3,500 depending on the provider and complexity tier.
- Impression kit or scan: Often free with the initial assessment, but changing brands or re-impressions may cost $50–$100.
- Retainers: Most plans include one set of post-treatment retainers, but you’ll need to replace them every 6–12 months for life. Expect $100–$300 per set.
- Mid-course correction / refinement: Many companies include one refinement, but additional rounds can run $200–$500.
- Pre-treatment dental exam and X-rays: Budget $100–$300 (if not covered by insurance). This is the single best investment you can make before starting.
- Insurance and HSA/FSA: Aligner treatment might be partially covered if coded as orthodontia, but many DTC plans aren’t eligible. Always check with your provider. HSA/FSA funds can typically be used, which effectively discounts the cost.
Over a five-year period (treatment plus retainer replacements), the true cost can land between $2,000 and $5,000 — a significant saving over in-office aligners, but never $95/month without strings.
What Treatment Actually Feels Like: A Step-by-Step Walkthrough
Understanding the day-to-day reality helps set expectations — and adherence makes or breaks your results.
- Impression stage: At-home putty can be messy and gag-inducing. Digital scans at a center are easier but may require a short appointment.
- First tray wear: When you pop in the first aligner, you’ll feel pressure — not sharp pain, but a steady ache for the first 2–3 days of each new tray. Teeth feel “bruised” when biting down. This is normal; it means the aligner is working.
- Eating and drinking: You must remove aligners for everything except plain water. No coffee, no snacking with trays in. You’ll quickly become a master of discreetly popping out plastic.
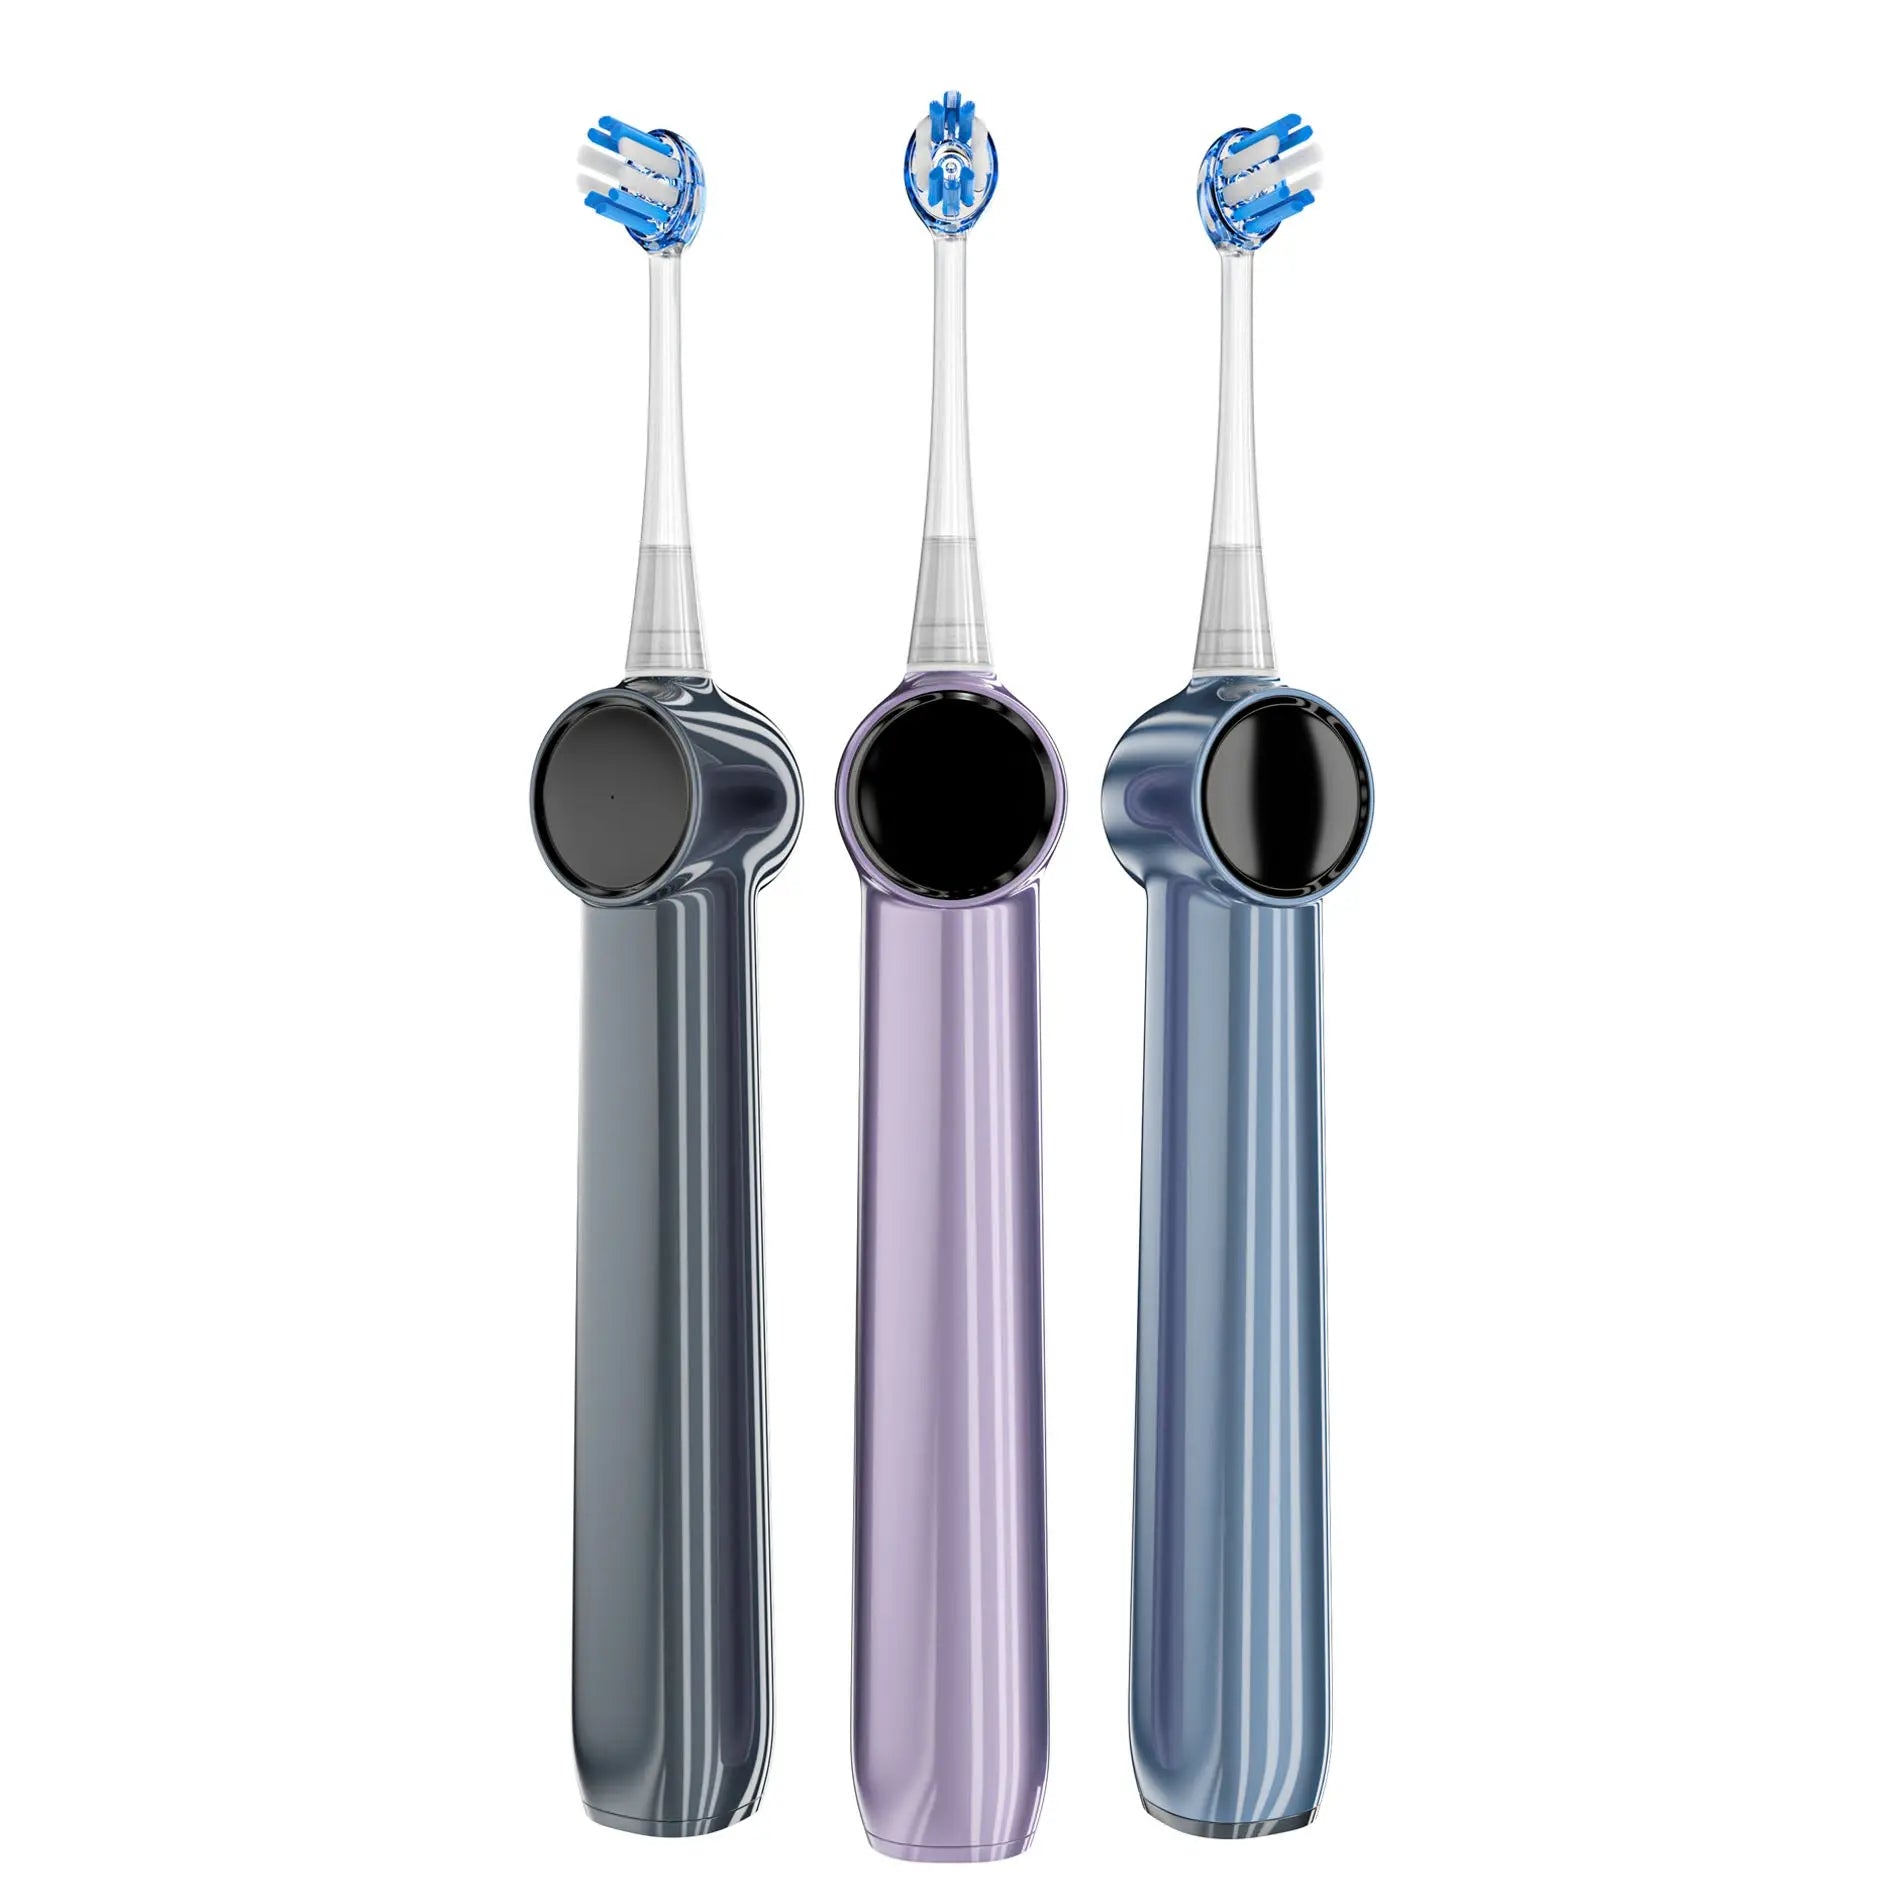
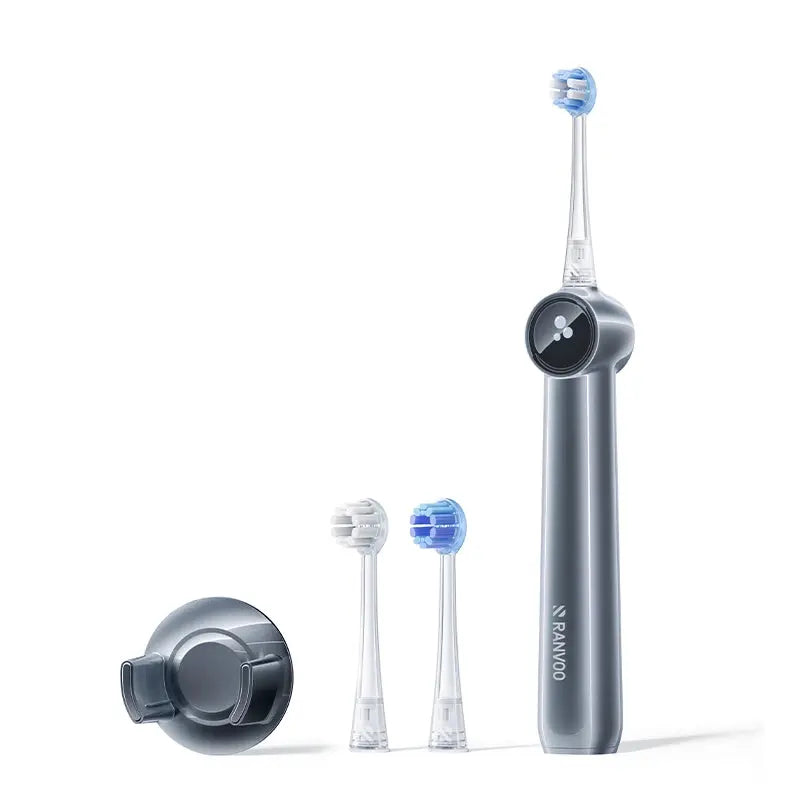
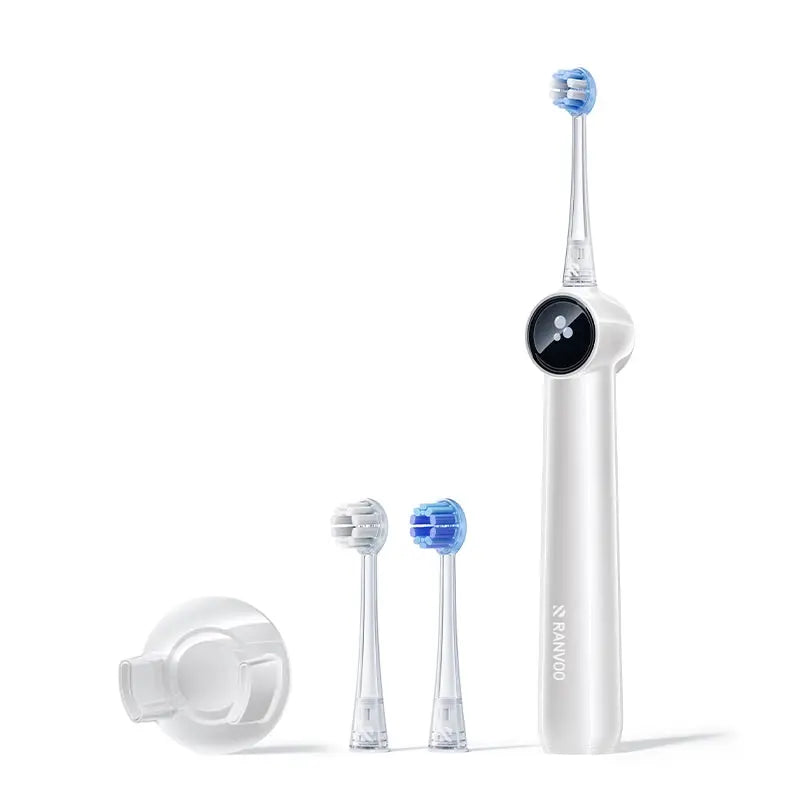
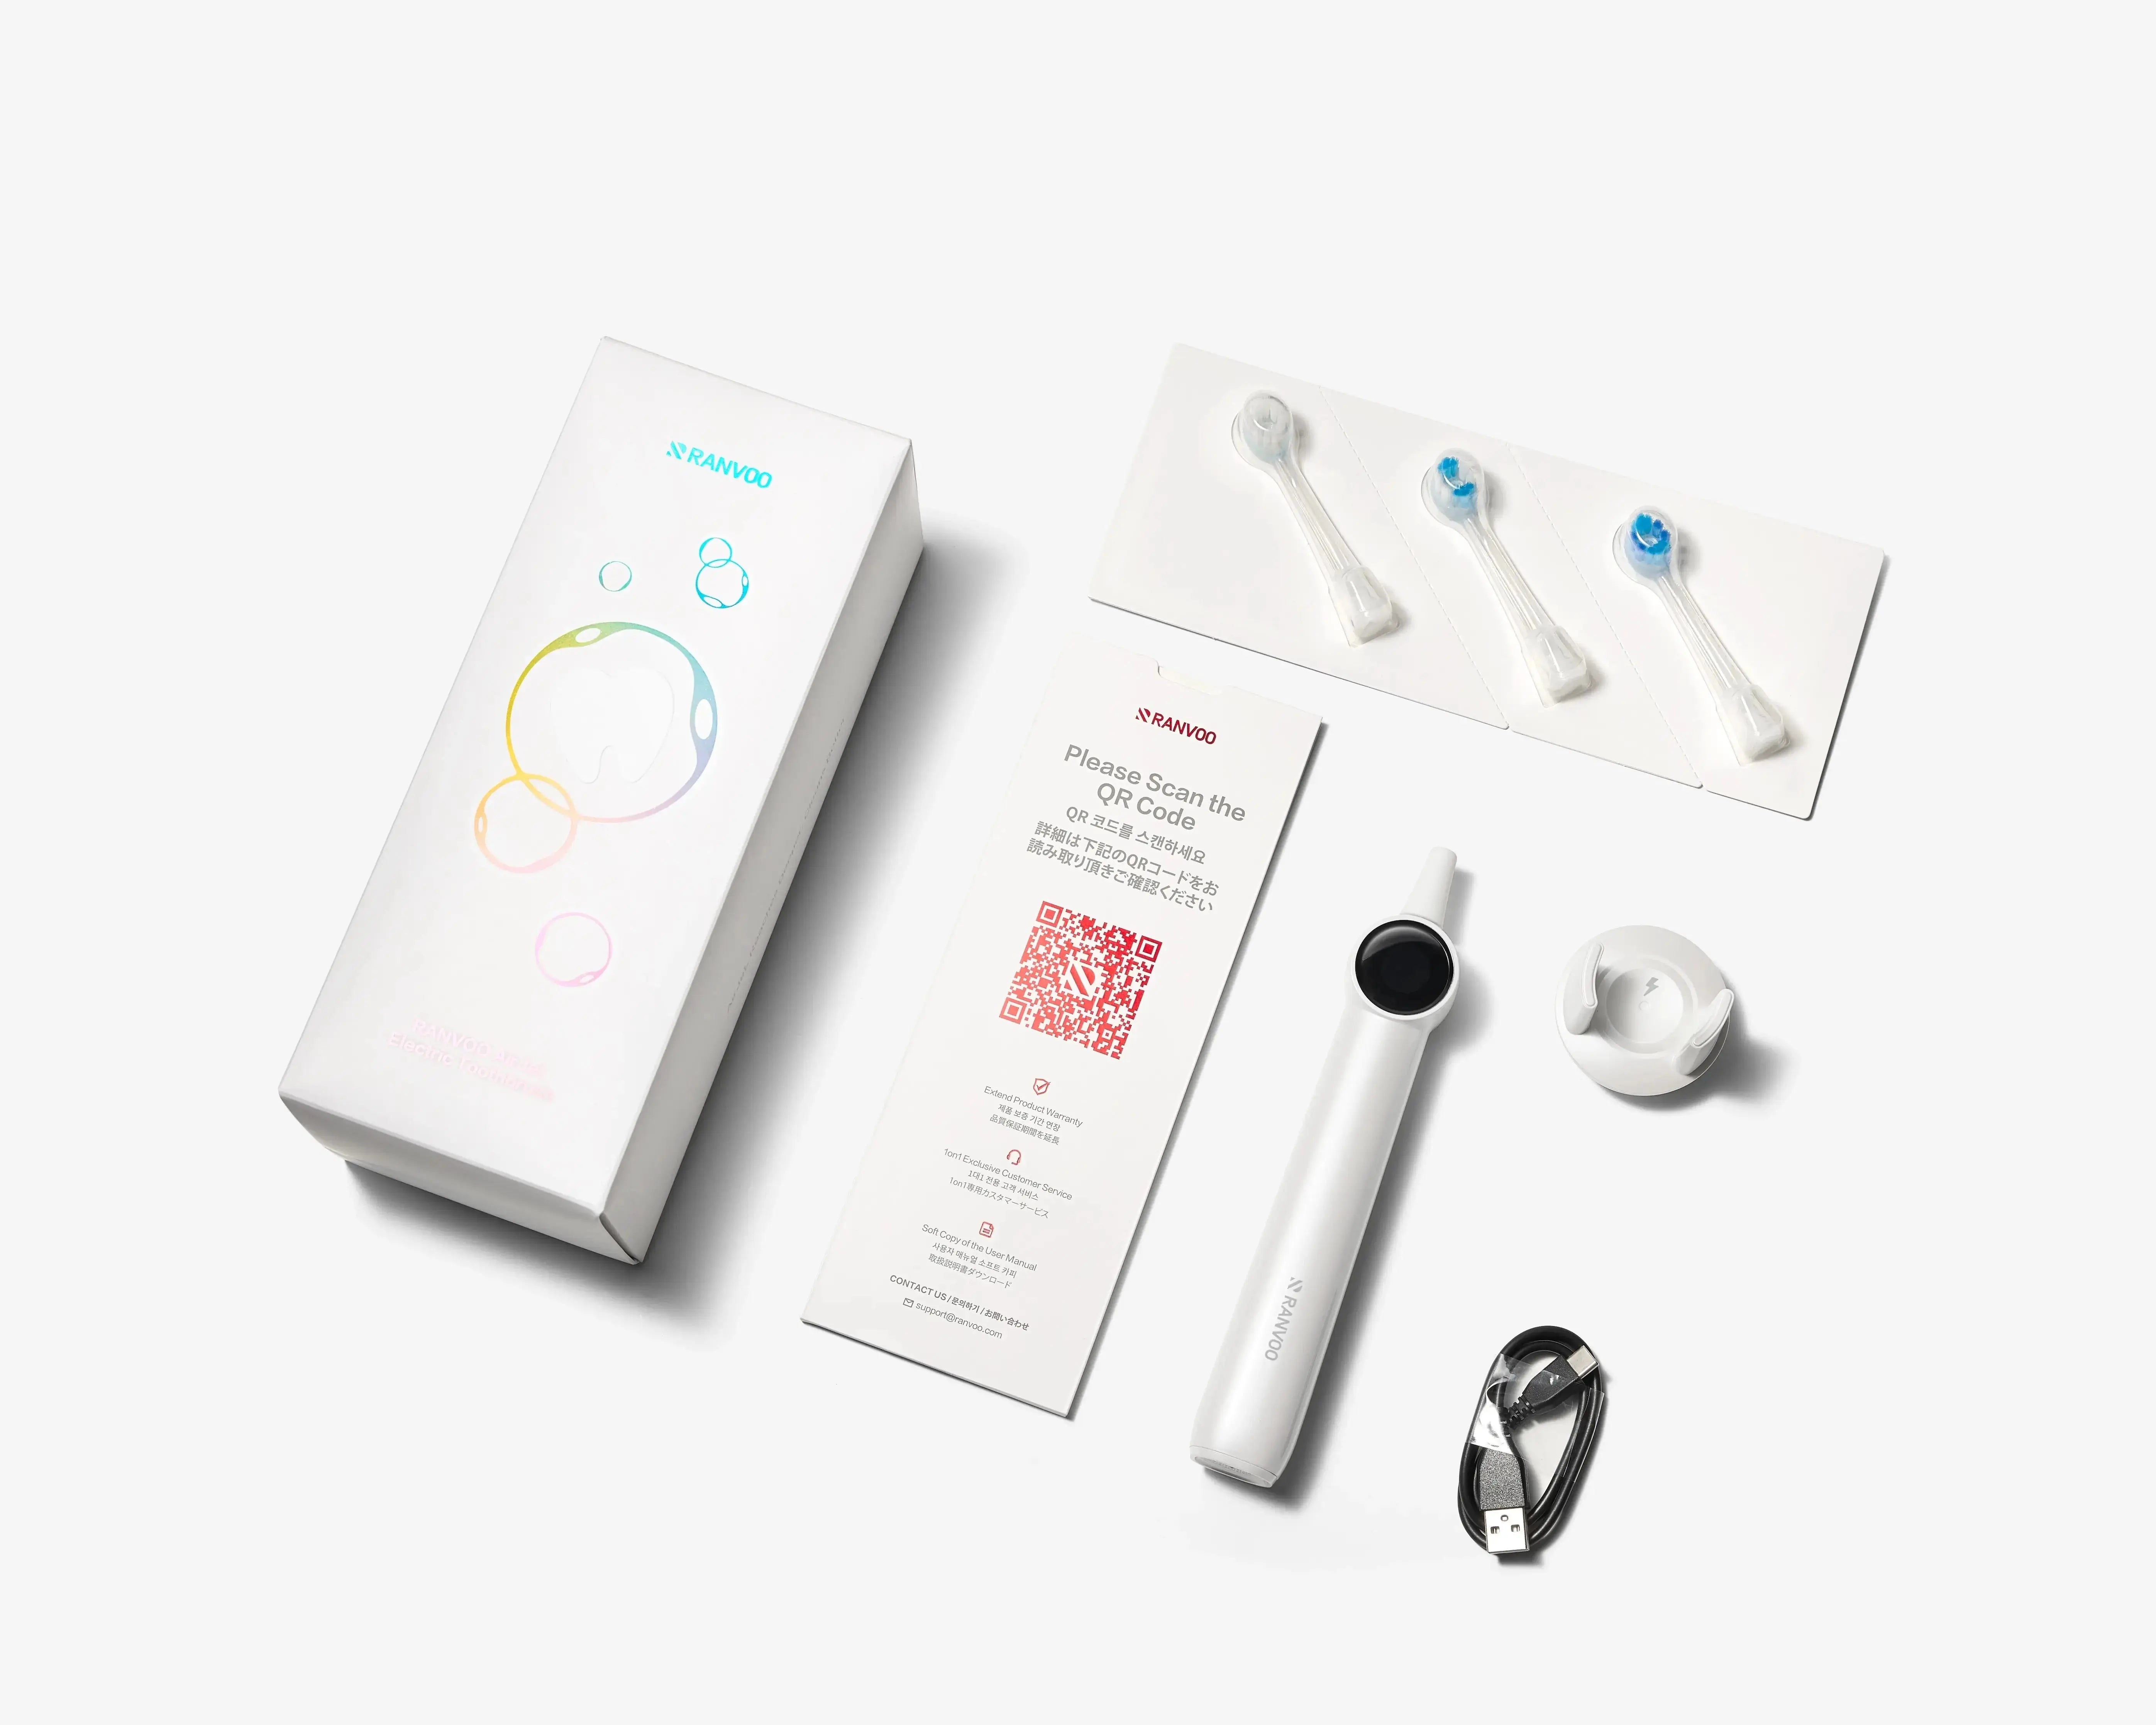
- Oral hygiene becomes everything: Before reinserting aligners, you need to clean your teeth thoroughly. Trapped food against teeth, trapped under plastic, is a recipe for rapid decay. To get the most effective clean in the tightest timeframe, many people switch to an electric toothbrush. Even better, a sonic electric toothbrush can gently dislodge debris around attachment buttons while being kind to tender teeth.
- Speech and dryness: For the first few days you may lisp slightly. Dry mouth is common but improves as you adapt.
- Weekly check-ins: You’ll snap photos of your smile with an app; the dental team reviews them asynchronously. It feels low-effort, but you must be consistent.
- Refinement and retention: If a tooth isn’t tracking, you’ll take new impressions and receive extra aligners. Once you’re done, you graduate to a retainer worn nightly — forever, if you want your smile to stay straight.
Common Mistakes People Make (And How to Dodge Them)
Steer clear of these pitfalls that have derailed many well-intentioned smiles:
- Skipping the dentist visit beforehand: You cannot see bone levels, decay, or cysts with a smartphone camera. Start on a foundation of health or risk losing teeth.
- Wearing aligners inconsistently: Even 18 hours instead of 22 can stall progress and cause teeth to shift back and forth, potentially damaging roots. Treat your wear time like a prescription.
- Not tracking tooth movement carefully: If an aligner “fits” but you notice a gap between the plastic and your tooth edge, report it. A tooth that stops tracking can throw off the entire sequence.
- Ignoring gum bleeding or sensitivity: These are not “normal treatment discomfort”; they could signal gum disease getting worse. Pause and see a local dentist immediately.
- Using whitening or harsh products: Teeth are more porous and sensitive during movement. Avoid aggressive whitening gels or abrasive toothpaste until your dentist gives the all-clear.
- Tossing aligners back in without cleaning: After meals, floss and brush (with your electric toothbrush, ideally) before you put trays back in. Even a tiny bit of plaque left under plastic becomes a cavity factory.
Final Verdict: Should You Do It?
At-home teeth straightening works — but only when the road is carefully paved.
Go for it if: - Your crowding or spacing is mild and your bite feels normal. - You’re willing to get a pre-treatment dental exam and X-rays. - You can commit to 22 hours of wear and meticulous oral hygiene. - You understand this is a cosmetic fix, not a complete orthodontic overhaul.
Think twice if: - You have any bite issue, TMJ pain, or severe rotation. - You lack recent dental records or have skipped routine checkups. - You can’t afford refinements or lifelong retainer replacements if complications arise.
If you’re leaning forward after reading this, your next step is clear: book a comprehensive dental exam first. Bring up your interest in aligners and ask your dentist if your mouth is ready. That one-hour visit could save you thousands of dollars and years of regret.

At-home straightening isn’t magic — it’s orthodontics delivered through a new channel. Respect the biology, respect the process, and you just might love the results.